Let’s Program A 3D Browser Game Part 2: Three.js To The Rescue

Sorry For The Delay

My original plan was to show how to program a 3D web application from scratch, but after several rewrites I’ve come to the conclusion I can’t really do that without spending weeks worth of posts talking about general 3D programming. If that’s what you really want I suggest hitting this tutorial. Please note that none of their sample code will work unless you also download the helper libraries they provide in the online code repository. Just copy pasting their examples will fail without them.

As for me, I’m going to use a third party library to help us jump right into web based 3D without having to mess around too much with linear algebra and view frustums, which are all quite interesting but a bit too deep for the casual and fun game programming series I wanted to write here.

The particular library we’ll be using is called “three.js”, which can be downloaded at threejs.org. They also have plenty of documentation and examples there so if you find you enjoy the little application we’re writing here you’ll know where to go next to learn some more advanced tricks.

Let’s Get To Work

Go ahead and download three.js and grab the relatively small “three.min.js” file it comes with. Unless you’re planning on editing the library itself (and we aren’t) that’s all you really need so toss a copy of it into a new folder called something like “3dwebmaze” and create a blank “index.html” file right next to it. Now pop open your index in your favorite text editor and get ready for some coding.

First things first: we need to set up the basic webpage where all of our cool 3D stuff is going to happen. Our main requirements are to set up a canvas, make sure we load the three.js library and then tell the body of the webpage to trigger a script after it finishes loading. The script we want it to trigger will, of course, be the 3d maze program we’re going to write.

<html>
<head>
   <title>Maze With three.js</title>
   <script src="three.min.js"></script>
   <script>
      function runMaze()
      {
      }
   </script>
</head>
<body>
<body onload="runMaze();">
   <canvas id="mazeCanvas" width=600 height=450 />
</body>
</html>

With the boring stuff out of the way we can start writing some real code and filling in our runMaze function. Please note that every line of code in this particular post needs to go inside of runMaze.

The first thing runMaze needs to do is grab a reference to our canvas. Not only do we need to tell three.js where to find its drawing target, we also need to be able to grab the canvas’s width and height in order to fine tune various bits of our rendering process.

var mazeCanvas = document.getElementById("mazeCanvas");

After that we need to set up three js itself. First up is a “scene” whose job is to keep track of all the objects we want to draw. Just creating a 3D shape isn’t enough, you have to add it to the scene for anything to happen.

var scene = new THREE.Scene();

Next we need to set up the renderer, which does all the work of actually drawing things. By default the renderer will try to create a brand new canvas but if you already have one you can pass a reference to it. Notice that we’re passing WebGLRenderer an anonymous object with a “canvas” property. Just passing the canvas reference alone won’t work; this function, like a lot of three.js, expects an object full of setup details instead of direct arguments.

var renderer = new THREE.WebGLRenderer({ canvas: mazeCanvas });

The last thing we need is a camera, which helps the renderer figure out exactly how things should be drawn to the screen. The camera needs four pieces of information to work properly, so buckle yourself in for a wall o’ text.

The first camera argument is “field of view”, which is kind of a weird idea. Think of it like this: humans and cameras see the world through a cone shape. Up close you can only see things right in front of you (like a single tree) but the farther away things are the wider an area you can see all at once (like miles of distant forest). Well field of view is just a measurement of what kind of vision cone you want your camera to have. Will it be a big wide panoramic camera or will it be more focused? The “best” cone shape depends heavily on what kind of scene you want to draw. For now we’ll choose a cone with a 75 degree angle and then tweak it later if we think that’s too wide / not wide enough.

The second piece of camera information is aspect ratio, or the shape of the final picture. This needs to match whatever you canvas size is or else things will get stretched and squished just like when you accidentally try to watch an old movie on a widescreen TV. The easiest way to make sure it’s right is to just calculate the aspect ratio on the spot based on the same canvas reference we passed to the renderer. That way if we later decide to change the size of the canvas the code here will automatically update the next time we reload the page.

The last two pieces of information are the minimum and maximum distances you want objects to appear at, commonly called the near and far plane of the view frustum. Anything closer to you than the near limit gets ignored (useful for making sure you don’t draw things behind or overlapping with your camera). Anything beyond the far limit also gets ignored (useful for making sure you don’t waste processing power drawing objects so far away they would barely be a blip on the screen anyways). Once again the exact values for these depend on what kind of scene you’re programming so for now we’ll just use the default values from the three.js online tutorial and then change them later if that doesn’t work.

Put those four pieces of information all together and we get this:

var camera = new THREE.PerspectiveCamera( 75, mazeCanvas.width/mazeCanvas.height, 0.1, 1000 );

With that three.js is all set up and ready for us to start building mazes.

I think it’s safe to say that the most important part of a maze is the walls. You can get away with leaving off the ceiling and people usually don’t look too closely at the floor but without walls it’s not a maze at all. So let’s draw some walls.

In general the easiest way to draw a wall is to just make a 2D rectangle and stick it the way of the player, and after a little experimentation I found that a wall twice as wide as it is tall seems to look the best. But exactly how tall should it be?

If this was a real life maze we’d probably base the height of our maze walls off of the average height of the people we want to explore it. Example: Almost all humans (at the time of this writing) are less than seven feet tall so an eight foot high wall should be enough to prevent anybody from bumping their head.

But this isn’t a physical maze. It’s a 3D graphics maze and the imaginary cameraman running through the maze is exactly 0 units tall and has no head to bump. That means that exact size of our walls doesn’t actually matter. We could make our walls HUGE and still get them to fit on screen by just putting them far away. We could also make them super tiny but still have them feel taller than the player by just putting them close together and right in the front of the camera. What matters isn’t the size of the wall, but the ratio of its size and camera distance.

This is nice because it means we can set the scale of our maze to whatever is most convenient to work with and then adjust the camera until everything looks appropriately player sized.

Now it seems to me that the most convenient scale for a grid based maze is to let every grid square be one unit wide and one unit long. That way we can easily convert between maze locations (column 5, row 3) and 3D positions (x:5, z:3). And of course if the grid squares are one unit wide every wall will also be 1 unit wide and to get the proper 2-to-1 width to height ratio that means every wall will be 0.5 units tall.

So now that we know what size our walls are going to be let’s finish up this post by building one and drawing it to screen. It will be one unit wide, half a unit tall and we will put it half a unit away from the camera. Since the camera, by default, sits at (0,0,0) and faces in the negative Z direction that means we want to put the wall at (0,0,-0.5).

Digital Carpentry

To build this wall we need two things:

1) Some geometry describing the shape of the wall

2) A “material” describing how the wall should be colored and textured.

var wallGeometry = new THREE.PlaneGeometry( 1, 0.5 );
 var wallMaterial = new THREE.MeshBasicMaterial( );
 var wall = new THREE.Mesh( wallGeometry, wallMaterial );
 wall.position.z = -0.5;
 scene.add( wall );

For our geometry we used a simple plane, basically a flat rectangle with whatever width and height we want.

For our material we use the default MeshBasicMaterial. Without any special arguments this represents a simple flat coat of white digital paint. The only interesting thing about is that it’s a one sided texture; you can only see it from the front. Look at the wall from behind and it’s invisible. This is actually very useful (and efficient) because most of the time you only want to draw one side of a shape anyways. We will only ever look at our maze from the inside and a character like Mario should only ever be seen from the outside.

Now that we have our rectangle and our boring white material we can mix them together into a an actual useable 3D mesh. We then push its z position away from the camera by half a unit and add the final objection to our scene. Remember, only objects that are part of the scene get rendered!

But how do we make that rendering happen? Simple enough, we just have to set up a function with a few three.js hooks and then call it.

var render = function () {
   requestAnimationFrame( render );

   renderer.render(scene, camera);
};

render();

And with that we have a wall. A single, bland wall that frankly doesn’t look very 3D at all. We could have done the same thing with a single 2D draw rectangle call. But it’s a start.

Yes, it’s a boring screenshot but just think how easy it would be to compress!

Bonus Project!

Earlier I said that the exact size of our wall didn’t matter since we could make small walls look big by getting up close or big walls look small by backing away. Test this out by making the wall two or five or ten times bigger (or smaller) while also changing its z position to be two or five or ten times further away (or closer). You should notice that as long as the ratio of size to distance is constant you’ll get the exact seem fills-most-of-the-screen rectangle no matter what sizes you choose.
Let’s Illustrate Planetbase Part 5: The Key To Success Is Low Expectations

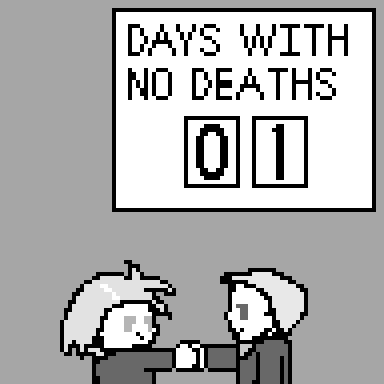
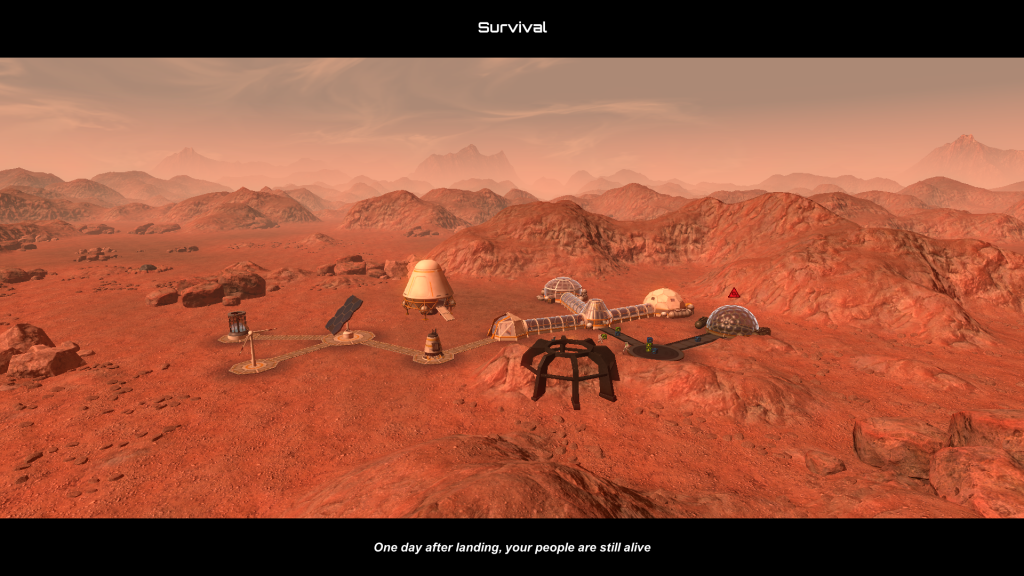
Thanks to our unreliable wind turbine the Fault Inc base was able to barely scrape through the night without any causalities. And that means we unlock our first milestone: Survival. Admittedly making it through the game’s first day isn’t all that impressive but I’ll take whatever positive reinforcement I can get.

People in suits shaking hands is what business is all about, right?

All things considered that’s a LOT of construction work for one day, seven people a couple robots.

If you look at the full size screenshot you’ll notice a few potentially interesting things. Besides the turbine and the solar panels there’s a glowing blue cylinder. That’s a huge battery and while it wasn’t finished in time to help with the first night it should smooth out life support in the coming weeks. On the right side of the base there are a bunch of more of domes. Admittedly they are more or less identical so you’ll just have to take my word that one is a dorm, one is a cafeteria and one is a hydroponics space farm. That weird black skeleton is the beginnings of a mine so we can start properly exploiting this big ball of rock.

I’ll admit I wonder if I’m building too many different things too fast. Or too slowly. Guess we’ll have to find out the hard way.

Let’s Illustrate Planetbase Part 4: A Little Brain Damage Never Hurt Anybody

Fault Inc’s disastrous first colony taught us a few important things; namely that Planetbase has a pretty fast moving day/night cycle and that colonists asphyxiate really quickly when their solar powered life support all shuts down.

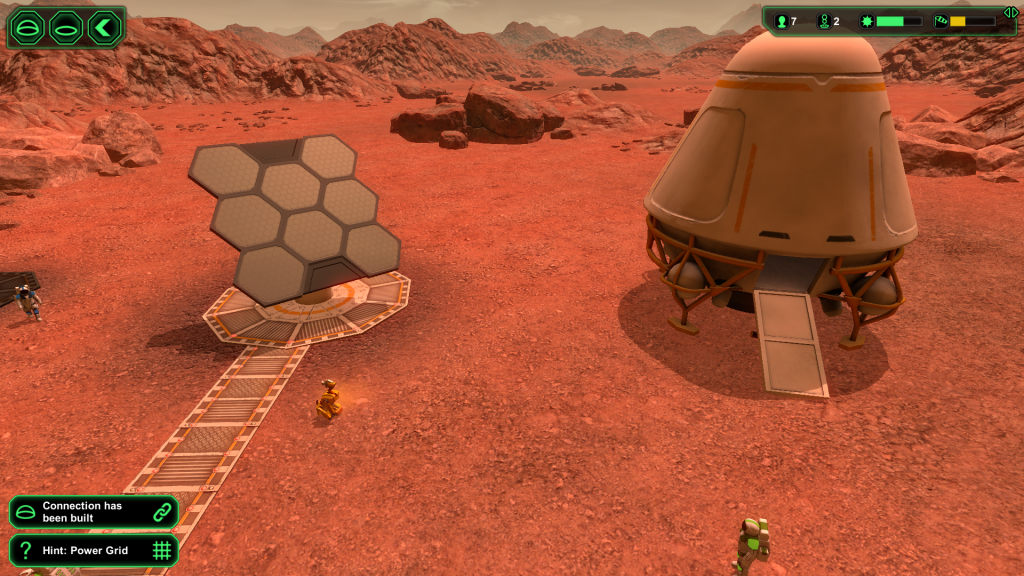
So for colony #2 I try to avoid this problem by building not only a solar panel but also a decent sized wind turbine right as soon as we land.

Which reminds me, did you know your colonists bring construction robots with them to each colony? They don’t seem to work any harder or faster than your human construction experts but more helping hands is always useful and I guess it’s nice not having to worry about providing them with food or air.

Our cute little construction bot puts the finishing touches on a solar panel.

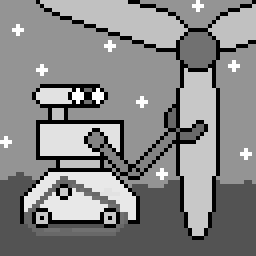
Turbine probably not drawn to scale.

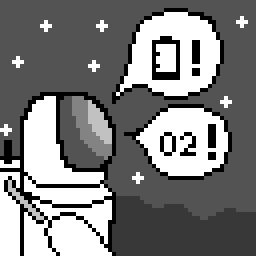
I had hoped using winds as a backup energy source would solve all my nocturnal oxygen problems but it turns out that the wind doesn’t blow 24 hours a day on this particular planet (which took me by surprise; living in Oklahoma has given me weird ideas about “normal” weather). So my overnight electrical supply was more or less random and that meant life support was on and off all night as well. Fortunately while the colony’s oxygen levels got dangerously low on multiple occasions the electricity always kicked back in before anybody actually died. Admittedly a night like that should probably have left everybody suffering from the side effects of CO2 poisoning and partial brain death but I’m pretty sure Planetbase doesn’t simulate any of that so let’s just pretend I didn’t bring it up.

Let’s Illustrate Planetbase Part 3: Maslow’s Hierarchy… IN SPACE!

When we last left Fault Inc’s first space colony things were looking pretty good. We had a set of solar panels producing tons of electricity that we then used to power both a water extractor and an oxygen plant. Toss in all the freeze dried food the colonists brought with them and the future is looking bright!

At least until the sun goes down.

No sun means no solar energy. No solar energy means no electricity, which means no water which means no oxygen.

As you might imagine the Fault Inc colonists are not happy about this and start complaining.

You already had twelve hours of oxygen today. What more do you want?

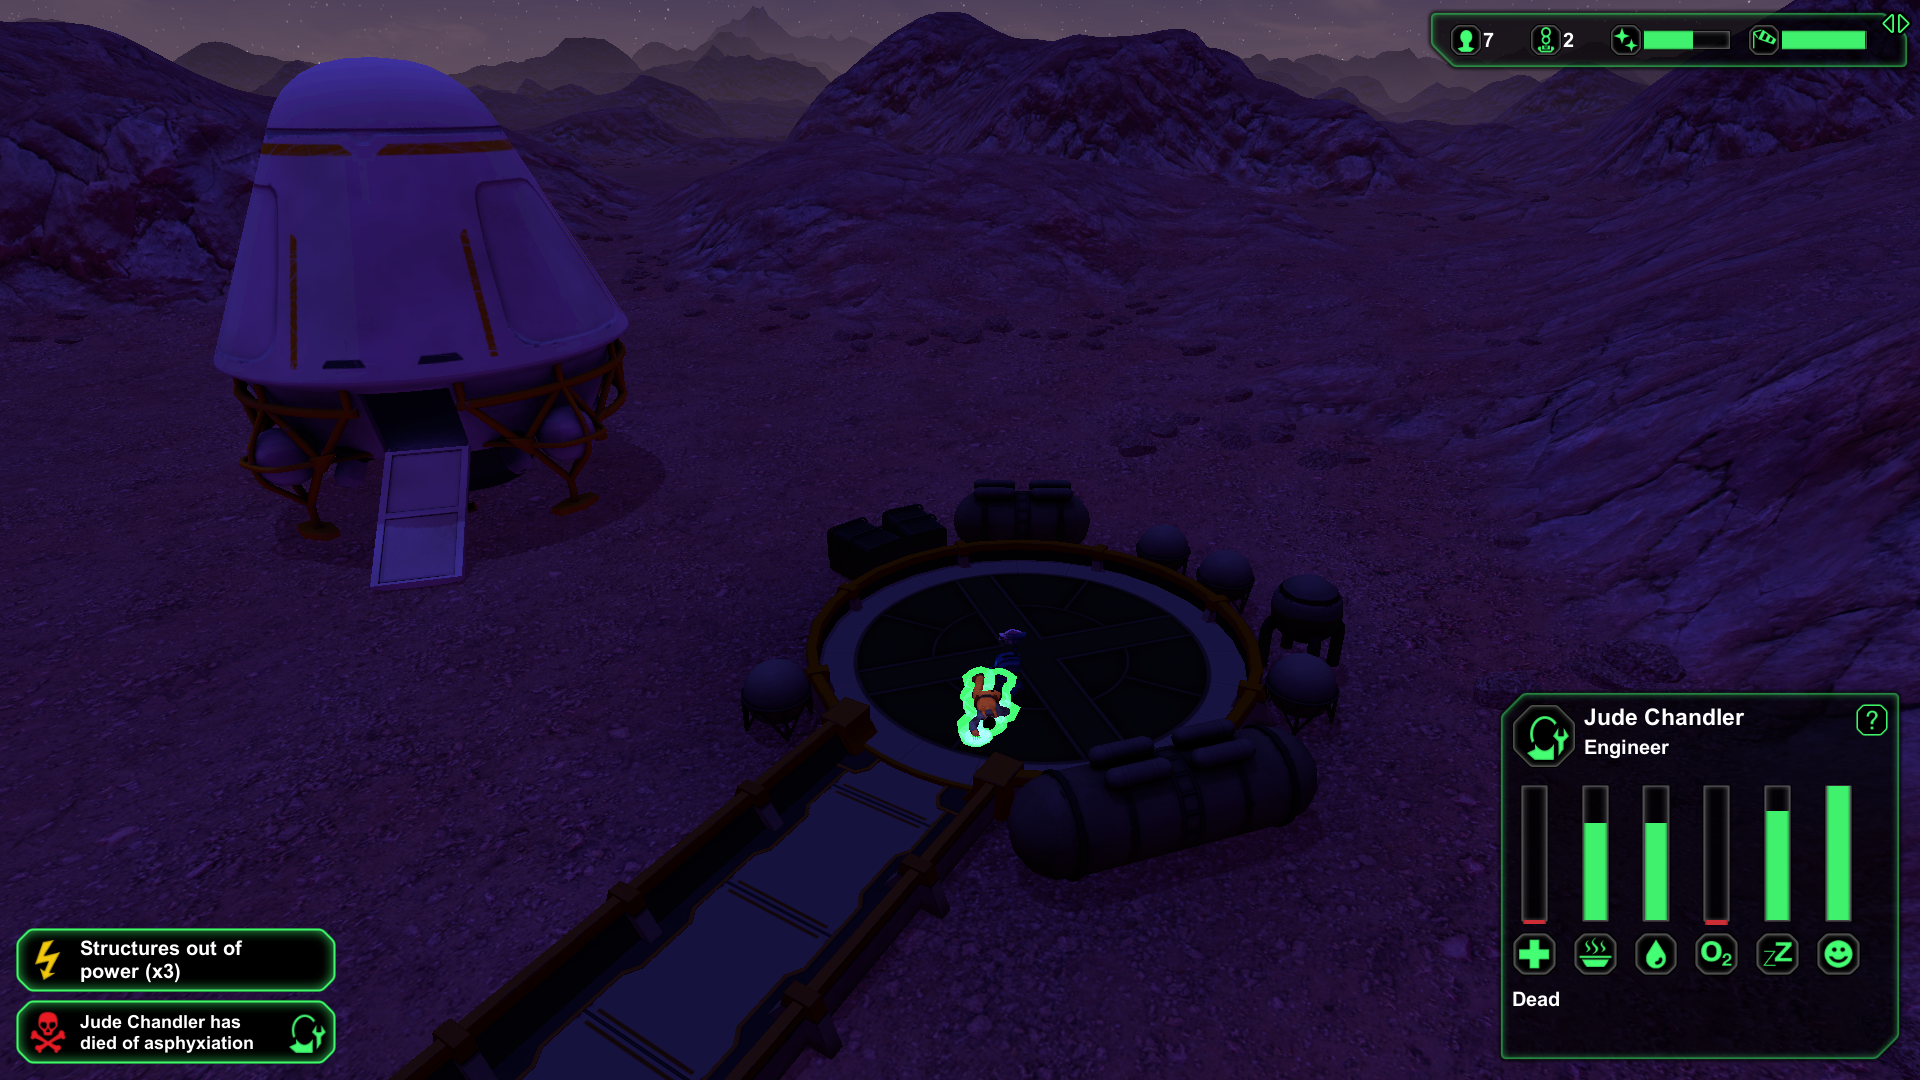
The good news is that they stop complaining pretty quickly. The bad news is that they stop because they’re all dead.

On the bright side poor Jude apparently died happy.

Well shoot. Not only did several brave astronauts lose their lives but Fault Inc’s insurance premiums are probably going to skyrocket too. We’d better be extra careful with the next colony.

Let’s Illustrate Planetbase Part 2: How Hard Is Rocket Science, Really?

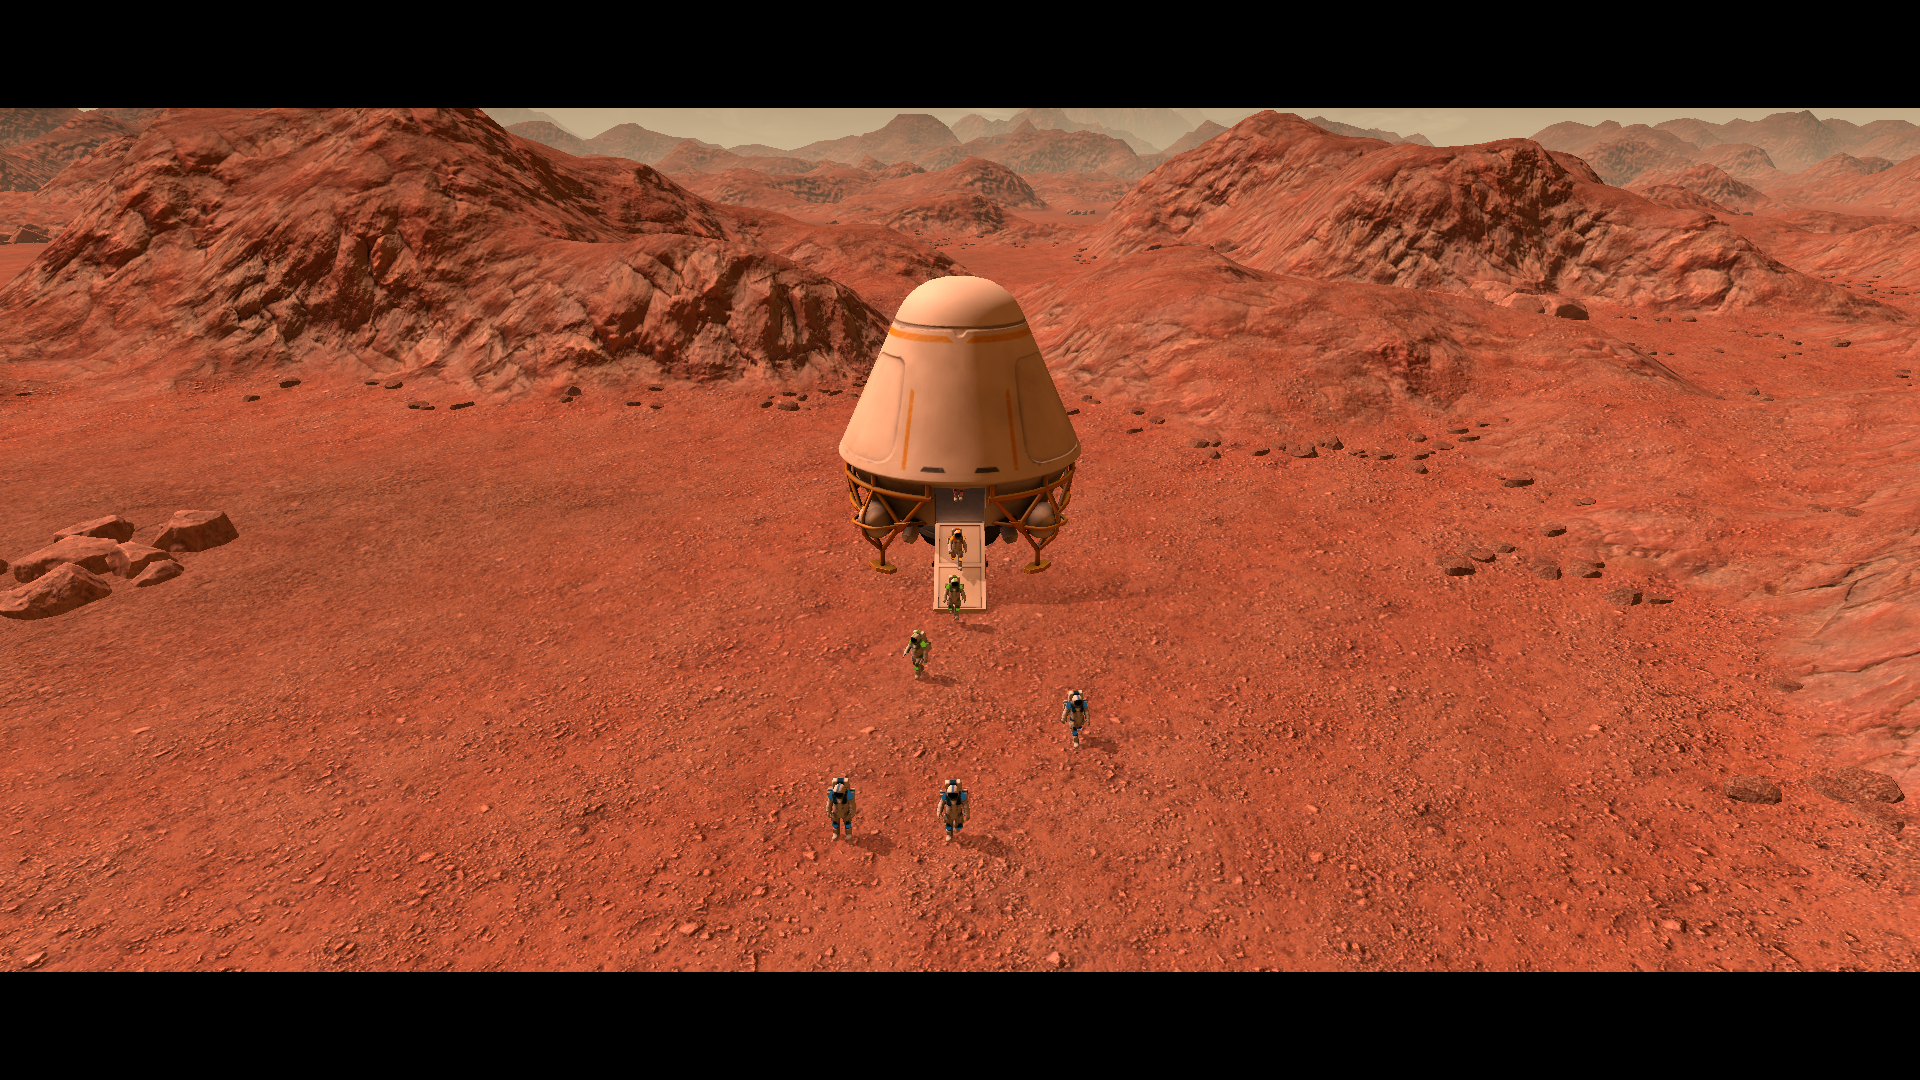
When you first try to play Planetbase there’s a big popup suggesting you should complete the tutorial mode before trying to settle an actual planet, but I’m going to completely ignore it in favor of clicking on buttons myself and seeing what happens. For example, it turns out that clicking the “Start Game” button triggers an adorable cinematic of your space capsule landing and your brave space pioneers emerging.

And you thought it felt good to get out and stretch your legs after a long car trip.

The best thing about camping in space is there are no mosquitoes.

Now I’m no space expert but I’ve read enough sci-fi to know the obvious top priority for a space base is air. And the easiest way to get air is by electrically splitting water, which means I need some power and water. Fortunately solar panels and water extraction systems come as pre-unlocked tech so I toss up some panels, drill for water and then set up an oxygen plant for my base.

Things are looking pretty good for Fault Inc’s first extraterrestrial colony!

Let’s Illustrate Planetbase Part 1: Everything Is Better In Space

Planetbase is a town management sim whose claim to fame is that it takes place in space, meaning it’s not enough to just worry about whether your citizens are happy and well fed in their newly built settlement. You also have to worry about whether or not they have enough oxygen or too much cosmic radiation. How much you have to worry about this depends a lot on the planet you choose to settle.

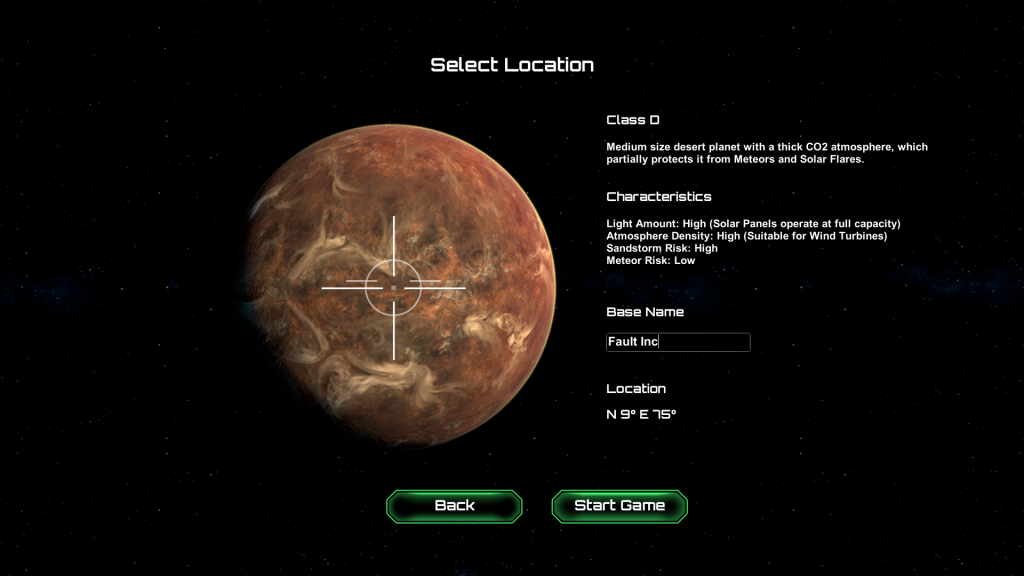
Since I’m going into this game blind I only have access to the easiest of planets: Class D. It’s a dustball with a thick CO2 atmosphere and while humans can’t breath that the fact that it at least has an atmosphere should help with everything from providing wind power to screening out a certain amount of cosmic radiation and debris. It would also make this an attractive planet for terraforming but I don’t think this game cares about so oh well.

Anyways, first up we need to name our base. Now let’s see… who do we know that both desperately needs a way off planet and has enough money to fund a space program?

Why none other than Fault, who as you may recall ended her last adventure by kind of sort of betraying her orders from a powerful Emperor and thus winding up on his hit list. Still, at least she managed to amass a large fortune in the process and what better way to spend that than on space exploration.

Extensive experience with stabbing monsters totally qualifies Fault to run a space based industrial firm, right?

Thus is born “Fault Inc”.

No, this has no impact on the game at all but after the last two Let’s Illustrates it would be sad if Fault didn’t at least get a cameo in this one.

Let’s Program A 3D Browser Game Part 1: You Can Do That?!

A while back we saw how recent improvements in HTML5 standards and modern browser technology make it possible to program classic 2D games using nothing but Javascript. But that’s not all that modern browsers can do!

They can do full 3D.

This is exciting because it used to be that the only way to share 3D content with your users was to ask them to download and run a a suspicious standalone exe file. But now you can share your 3D ideas directly through the browser they already trust.

Of course, there are limits. The browser may already know how to render 3D graphics but you still have to send the user a copy of all your models and texture and users aren’t going to wait around for hours while you send them ten gigs of data. So you’re unlikely to be hosting full triple A games on your blog.

But there’s still a lot of cool stuff you can do with a mere dozen megabytes of 3D data. Games, simulations, interactive presentations and so on. It’s not going to be replacing the fast and reliable text based Internet we know and love anytime soon (or ever) but it can certainly enhance an existing website.

Always Turn Right

So what shall we do to practice our browser based 3D skills?

Well, lately I’ve been playing an unreasonable amount of dungeon crawlers. There’s just something about exploring a labyrinth in first person that’s more exciting than doing it from a third person eagle eye view. Probably the suspense of not being able to see what’s around each corner combined with the sense of scale you get from actually being in the dungeon.

So let’s build ourselves a first person, grid based maze. Just a maze, mind you. No combat system or treasure chests or anything. Just the maze exploration system.

Now before we start talking about our code let’s go over what our project needs to actually do:

  • Draw textured squares to represent walls, floors and ceilings
  • Accept user movement input
  • Force the user to move in a grid pattern
  • Keep track of the shape of the maze
  • Prevent the user from walking through walls

Pretty easy and straightforward as long as you have a reliable way to draw 3D graphics. And thanks to the smart people in charge of browser design we do.

So next time we can start experimenting with actual graphics code.

Random Pixels: Submarine Map Necklace Bag

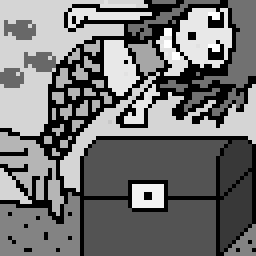
I rolled the idea dice and came up with a submarine, a map, a necklace and some sort of bag. The map and necklace together suggest pirate treasure which works well with the idea of bags full of gold. Add in the submarine and you get sunken pirate treasure.

Of course nothing but a big old treasure chest underwater would be kind of boring so I threw in a mermaid.

Let’s Program A Compression Algorithm: Index And Code

Data compression is the science of taking big computer files, shrinking them down for easy transport or storage and then expanding them back into their original size and shape later on when you need to use them again. It gets used everywhere from computer backups to streaming video to software downloads and more.

But how does it work? How do you take 100 MB of data and somehow fit it into an only 10 MB file?

Let’s find out by writing our own simple compression algorithm!

Let’s Program A Compression Algorithm Part 1: How To Fit A Byte Into A Bit And Other Curious Tricks

Let’s Program A Compression Algorithm Part 2: In Which A General Idea Becomes A Specific Algorithm

Let’s Program A Compression Algorithm Part 3: In Which A General Compression Algorithm Becomes Working Lisp Code

Let’s Program A Compression Algorithm Part 4: In Which Byte Compression Code Is Applied To An Entire File

Let’s Program A Compression Algorithm Part 5: In Which Compressed Files Are Decompressed And The Project Completed

Let’s Program A Compression Algorithm Part 6: In Which We Consider How Professional Compression Algorithms Function

Let’s Program A Compression Algorithm Part 7: Considerations On Speeding Up Slow Code

Let’s Program A Compression Algorithm Part 8: Further Musings On Speeding Up Slow Code

Code

wrcslow.lisp – Our super slow but functional prototype from parts 1-5

wrcfast.lisp – The much faster optimized code from parts 7 and 8

Random Pixels: Submarine Shield Cauldron Fuel Gauge

So those two Let’s Illustrates I did were a lot of fun and they did help me get over that first big artistic hurdle of “What should I draw for practice?”

But now that I’m starting to get in the habit of practicing the time required to play a game and keep a journal and organize reference screen shots and whatnot is actually getting in the way of practicing the actual art. So now I have a new plan!

I have purchased a set of Rory’s Story Cubes, Voyage edition. It’s a set of nine dice with adventure themed pictures on them instead of numbers. These things are really handful for anybody whose creativity needs a little head start. Want a random short story idea? A theme for your next game of Dungeons and Dragons? Maybe… inspiration for a piece of pixel art?

In my case I use them by rolling all nine dice, choosing four that seem to fit together well and then that’s the theme of my next pixel drawing.

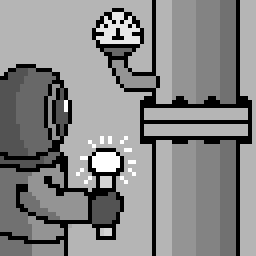
For example, the first time I rolled them I picked out a submarine, a shield, a cauldron and an empty fuel gauge.

So I thought a little and came up with this:

A deep sea diver (submarine) wearing one of those metal plated old diving suits (shield). He’s underwater examining a pipe for carrying oil that can be refined (cauldron) into usable fuel (fuel gauge).