We’ve seen how to use three.js to manually create and position walls within our labyrinth. But building a full size maze by hand would be be boring, easy to mess up and hard to maintain.
Let’s not do that.
Instead let’s write a bunch of helper code to do the heavy lifting for us.
For starters I’d like a function to help put walls in the right place, a function that would let us forget about doing math and instead just say something like “I want a north wall at maze location <3, 5>”.
Not a particularly hard thing to write either. First we calculate the center point of the maze location we want to put the wall at. Since all of our walls are a convenient 1 unit wide that’s as simple as directly assigning our maze coordinates to our wall coordinates. The only trick here is that by default in 3D space the y axis points straight up so what we call the “y coordinate” in 2D space is actually the “z coordinate” in 3D space. (Well… unless you want to rotate the camera around a bunch but let’s not bother with that).
Once we have the x and z coordinates of the center of our maze location we next have to check whether the wall is supposed to be to the north, east, south or west. We then rotate the wall and push it half a unit away from the center. Be sure to double check this step; it’s pretty easy to accidentally mix things up so that east walls wind up getting pushed to the west or get rotated backwards and basically disappear (since walls are one-sided).
function placeWall(x,y,direction){
   var wall = new THREE.Mesh( wallGeometry, wallMaterial );
   wall.position.z = y;
   wall.position.x = x;

   if(direction == 'n'){
      wall.position.z -= 0.5;
   }
   else if(direction == 'e'){
      wall.position.x += 0.5;
      wall.rotation.y = -Math.PI/2;
   }
   else if(direction == 's'){
      wall.position.z += 0.5;
      wall.rotation.y = Math.PI;
   }
   else if(direction == 'w'){
      wall.position.x -= 0.5;
      wall.rotation.y = Math.PI/2;
   }
   else{
      return false;
   }

   scene.add(wall);
}
Now we can replace all of our wall positioning code with:
placeWall(0,0,'n');
placeWall(0,0,'e');
placeWall(0,0,'w');
placeWall(0,0,'s');
And everything looks the same as before.
Which is boring. Replace that with this:

placeWall(0,0,'n');
placeWall(0,0,'w');
placeWall(0,0,'s');
placeWall(1,0,'n');
placeWall(1,0,'e');
placeWall(1,0,'s');
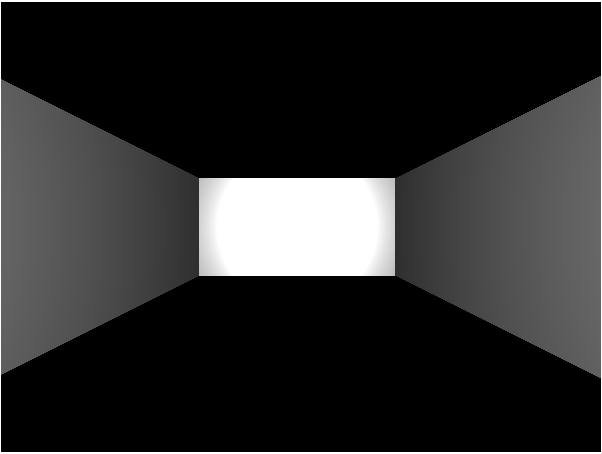
And now we get a hallway that’s twice as wide as our original square room.

If only remodeling in real life was so easy…
I Thought You Had The Map…
Our new helper function makes it almost impossible to mess up when placing a wall. But there’s still a couple problems:
1) It’s kind of hard to remember where we have and haven’t placed walls
2) For an interactive maze it’s not enough to just place the walls, we need to keep track of where they are for later navigation.
So what we really need is a way to describe our entire maze all at once and all in one place. We can then use that maze data to build the 3D graphics and then also use it later on for keeping track of where the player is in the maze and how they can and can’t move.
So what is the most convenient way to define our high level maze data?
Well… a maze is fundamentally just a grid of connected cells that may or may not have walls between them. So we can think of a maze as a two dimensional array of cell objects and we can define a cell object as a set of four wall values that are either “true” (there is a wall) or “false” (there is no wall).
Now since a cell has 4 walls it basically contains 4 bits of information. This means we could define each cell as a single 4-bit super-short integer and then use bitwise logic to calculate…
JUST KIDDING!
Modern computers have billions of bytes of memory. Since our program is unlikely to ever have more than a few hundred cells there is absolutely no need to obsess about jamming as much information into as few bits as possible. Instead we can write our code in a way that’s easy for us humans to understand and work with.
Something like this:
function MazeCell(northWall, eastWall, southWall, westWall){
   this.northWall = northWall;
   this.eastWall = eastWall;
   this.southWall = southWall;
   this.westWall = westWall;
}
Then we can define new cells in our labyrinth as easily as:
var cell = new MazeCell(true, true, false, true);
Of course, we don’t want our cells just hanging out in random variables. We want them to be part of a nice big grid array, something more like this:
var mazeGrid = [Array(2), Array(2)];
mazeGrid[0][0] = new MazeCell(true, false, false, true);
mazeGrid[0][1] = new MazeCell(true, true, true, false);
mazeGrid[1][0] = new MazeCell(false, true, true, true);
mazeGrid[1][1] = new MazeCell(false,false,false,false);
Which works out to be a simple ‘L” shaped room. (That’s why the last room has no walls, it’s completely blocked off from the rest of the maze and doesn’t really matter because it can’t be seen.)
Bringing It All Together
Now we have some maze data AND a function that can accurately drop walls down wherever we want. Mix them together and we can build an entire maze!
All we need is a nested foreach loop. The first loop will grab the rows from the maze. Then for each row we’ll have a second loop that grabs each individual cell and builds whatever walls it needs.
mazeGrid.forEach(function(mazeRow, rowCount){
   mazeRow.forEach(function(mazeCell, colCount){
      if(mazeCell.northWall)
         placeWall(colCount, rowCount, 'n');
      if(mazeCell.eastWall)
         placeWall(colCount, rowCount, 'e');
      if(mazeCell.southWall)
         placeWall(colCount, rowCount, 's');
      if(mazeCell.westWall)
         placeWall(colCount, rowCount, 'w');
   });
});
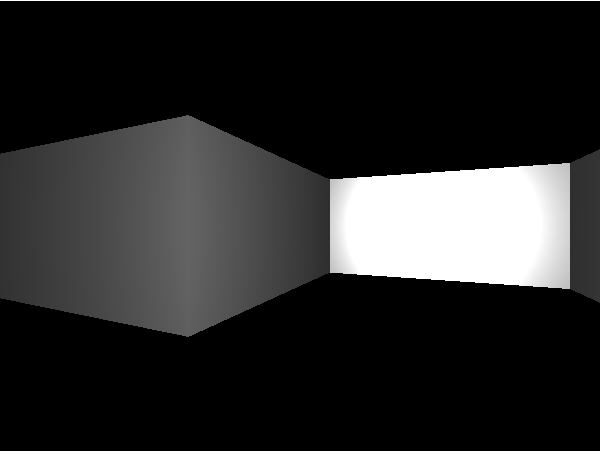
And now we can use our automatically rotating camera to see the shape of our little “L” shaped room.

OK… but where are we going to find a carpet that shape?
Of course there’s a limit to how much use we can get out of an automatically rotating camera. If the maze gets even a little bit bigger we wont be able to see the whole thing from our starting point at <0, 0>. If only we could control the camera, maybe walk around the maze like an actual dungeon crawler.
Hey! I’ve got a great idea for the next update!