The worst part of programming your own game is the fact that it’s hard to enjoy a game you know inside and out. It’s no fun finding the secret treasure chest on stage 4 when you’re the one who put it there in the first place.
One solution to this is to randomize your content. If the exact setup of the map changes every time you open the program then suddenly even the creator can be surprised by the outcome of his game.
Of course, in a serious game project you have to balance the replay value of a game that is always different against the high quality of a game that was crafted entirely by hand. Turns out “infinite replay value” isn’t so valuable if all your random content is boring.
But this is a programming project! We don’t care about the end user, we just want to practice writing cool stuff and a random dungeon generator would be a cool thing to add to our little mini browser maze.
It Sure Is Dark In Here…
Before we go write a program for building an entire random dungeon let’s make sure our engine can actually handle something bigger than the 2×2 closet we’ve been experimenting with so far. Update your maze generator function with the following code to make it 3×3 instead.
var mazeGrid = [Array(3), Array(3), Array(3)];

mazeGrid[0][0] = new MazeCell(true, false, false, true);
mazeGrid[0][1] = new MazeCell(true, false, false, false);
mazeGrid[0][2] = new MazeCell(true, true, false, false);
mazeGrid[1][0] = new MazeCell(false, true, false, true);
mazeGrid[1][1] = new MazeCell(false,true,true,true);
mazeGrid[1][2] = new MazeCell(false,true,false,true);
mazeGrid[2][0] = new MazeCell(false,true,true,true);
mazeGrid[2][1] = new MazeCell(true,false,true,true);
mazeGrid[2][2] = new MazeCell(false,true,true,false);

return mazeGrid;
Now load up your maze, walk around a bit and see if you can see any problems. Or more accurately if you can NOT see any problems.
That’s right, half your walls are missing!
You first instinct here is probably to double check your mazeGrid definition and see if maybe there was a problem with the code I gave you to copy paste. Maybe a few walls were accidentally left out or pointing the wrong direction? But have a little more faith in me! That maze definition is perfect.
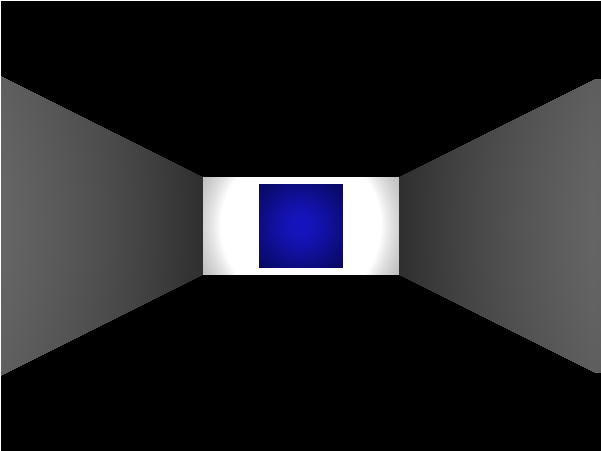
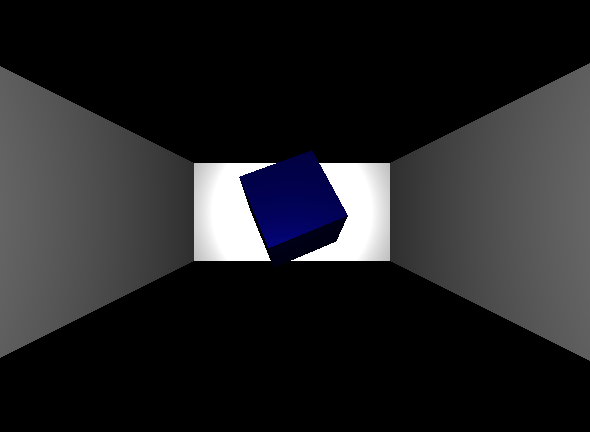
The real problem here is lighting. Our entire maze is currently lit by a single point light that hangs out in in the middle of the <0, 0> cell. That means that only walls facing towards <0, 0> get any light*, and now that our maze is a little bigger we have a lot of walls that face away from it.
Several options here. We could replace the point light with a universal light source. Or we could add more point lights as the maze grows. But I think the best choice is just to have our one light follow along with the player to give him that sort of “Adventurer with a lantern/torch/flashlight” feeling.
This is also really easy to do. Just go to the end of your “state == MOVING_FORWARD” code and add this:
playerPointLight.position.x = camera.position.x;
playerPointLight.position.y = camera.position.y;
playerPointLight.position.z = camera.position.z;
Now the light will update it’s location at the same time the player does. No more pitch black invisible walls. That means we’re ready to randomize our maze.
Roll The Dice, Build Some Walls
There are a LOT of different ways to randomly generate a maze, each with their own strengths and weaknesses. In particular a lot of the simpler algorithms have predictable patterns that make them trivially easy to solve.
But for a first person dungeon crawler this isn’t really a big deal. A pattern that would be obvious when seeing the maze from above can still be tricky to exploit when you can only see the walls and passages right around you.
So lets get our feet wet by using one of the simplest maze generation algorithms out there.
1)Start with a maze full of closed off cells.
2) For every cell randomly open a path either to the west or to the north.
That’s it. Despite its extreme simplicity this algorithm is guaranteed to create a maze where every single cell is reachable from any other cell; no cells ever get fully blocked off. This means the player can always get to the exit from the entrance or, in our case, to the collectables from their starting point.
The weakness of this method is that it creates one long boring hallway all along the western and northern edges of the maze. This is because the cells along the west wall can’t open a path to the west without going out of bounds and so instead have to all link to the north. Similarly the cells along the north can’t open any paths to the north without going out of bounds so they all have to link to the west.
But that’s an acceptable tradeoff for an algorithm so simple we can program it in a few dozen lines of JS.
First off we need to redefine our function to accept a width and height so we can tell it how big we want our random maze to be. Our inner function/object MazeCell can stay the same:
function createMazeGrid(width, height){
   function MazeCell(northWall, eastWall, southWall, westWall){
      this.northWall = northWall;
      this.eastWall = eastWall;
      this.southWall = southWall;
      this.westWall = westWall;
   }
We can then use that width and height to build a starting maze where every single cell is completely closed off. This will replace the hand-crafted array we used to have:
var mazeGrid = Array(height);

for( var i = 0; i<height; i++){
   var row = Array(width);
   for(var j = 0; j<width; j++){
      row[j] = new MazeCell(true,true,true,true);
   }
   mazeGrid[i] = row;
}
You could even end the function right there with a return mazeGrid, although the end result would just leave you trapped in a 1 x 1 prison forever. That would make for a horrible game experience so let’s move on and start knocking down walls.
Looping through the maze and randomly opening a passage either to the west or north in every cell seems like a simple algorith, but there are a couple pitfalls to watch out for.
1) The origin shouldn’t try to open a passage
2) If a cell is on the west edge it should always open a passage to the north
3) If a cell is on the north edge it should always open a passage to the west
Also don’t forget that when opening a passage you need to modify two cells, not just one! For instance, to create a western passage from <2,1> to <1,1> it’s not enough to just remove the west wall from <2,1>, you also have to remove the east wall from <1,1>.
//Randomly open a west or north passage in every possible cell
for( var i = 0; i<height; i++){
   for(var j = 0; j<width; j++){
      if(i>0 && j>0){ //If it is not an edge cell open a passage randomly
         if(Math.random()>0.5){
            mazeGrid[i][j].northWall=false;
            mazeGrid[i-1][j].southWall=false;
         }
         else{
            mazeGrid[i][j].westWall=false;
            mazeGrid[i][j-1].eastWall=false;
         }
      }
      else if(j > 0){ //If it is along the north edge open a west passage
         mazeGrid[i][j].westWall=false;
         mazeGrid[i][j-1].eastWall=false;
      }
      else if(i > 0){ //If it is along the west edge open a north passage
         mazeGrid[i][j].northWall=false;
         mazeGrid[i-1][j].southWall=false;
      }
   }
}
This is one of those big but easy to understand functions. For every non-edge cell we choose to randomly create a west or north passage by calling Math.random(). This function returns a decimal value between 0 and 1 so by checking whether it is bigger than 0.5 we should get a mostly even mix of west and north passages.
Of course for the edge cells we don’t need any random math. We just build the only possible passage. Just be sure you know which edge you’re on! The way this code checks for things is kind of counter-intuitive. Basically we know that if (i>0 && j>00) failed that means we are on one of the two edges. We then use j > 0 to prove we are NOT on the west edge, meaning we have to be on the north edge. If that fails we use i > 0 to prove we are NOT on the north edge, so we have to be on the west edge.
And if they both fail? We must be in the corner and don’t need to open any walls at all.
You can see this all in action by updating your main function. Just replace the old createMazeGrid() call with something like: var mazeGrid = createMazeGrid(5,5);
Feel free to build even bigger mazes if you want. Our wall objects are pretty simple so you can probably place quite a few before your computer has too much trouble. A ten by ten maze with a hundred cells should be perfectly doable, for instance.
Still Not Random Enough
Now that we can build a random maze there’s a handful of final touches I’d like to try and implement to make it feel more like a real game. Specifically I’d like to also randomly place the collectibles and make it so grabbing them all triggers some sort of “win” condition. That shouldn’t be very hard but this post is already getting pretty long so let’s put it off until next time.
* Interesting note: The simple point light can shine through walls. As long as a wall is pointing towards the light it doesn’t matter if other objects are in the way. This is fine for our simple maze but more complex games would probably want to have shadows along with lights. Can ThreeJS do that? Probably! Go read the docs.